Showing posts with label nice one. Show all posts

October 29, 2012

Burps And Giggles

Salam and Hello!
Terjebak dengan beberapa blogger yang pernah ke Ipoh and posted out about this cozy restaurant, so Imran and me went to the place when we were in Ipoh last weekend for Hari Raya Qurban. Just want to see how unique is the place and... RUSTIC!

I never know there is such a restaurant in Ipoh (ironically, I'm from Ipoh!).

Gila, bangunan lama di pekan lama Ipoh ni, diubahsuai dan dijadikan restoran yang menarik-- rasanya macam tak banyak ubahsuai yang the owner buat. Sebab, kalau tengok luar dan dalam bangunan, macam kedai tinggal pun ada. Hehe!

Located at Jalan Sultan Yussuf, near the HSBC, this restaurant serves foods such as burgers, wraps, pastries, tartlets, etc, coffee and tea and such (and they do have a bar) :P

We had our second breakfast there-- (before that we had our breakfast at the food court near the Stadium Perak). Such a rustic yet cozy place, they have 3 different concepts of dining space. Ada yang ala-ala cafe gitu, the bar and the one which is at the back of the building-- they call it Lazy Lane. Nice!

The owner's son said this is his mom's second project after the Indulgence Restaurant and Living-- located at Jalan Tambun (err... never been there. Hihi!)

The upper level of the shop is the space they open for charity program, bazaar and markets-- all for charity! And I missed the craft bazaar they held on Sunday.

Well, we like the concept. Really! The interior, the foods-- this is the concept of cafe that I'd planned for so long before I met Imran. (dan itu salah satu perkara yang membuatkan saya dan Imran menemui titik persamaan yang membuahkan suka dan cinta-- wahahahaha!)

Ok, we'd like to have one like this soon! :)


Till then!
Ta-ta!


October 11, 2012

Packing Tape Photo Transfer

Salam and Hello.
As I promised, here is the tutorial for another technique of photo transferring using a packing tape. Before you do this, you need to print your image off of the laser printer, not an ink jet printer, on a piece of photocopy paper. It won't work from an ink jet prints.


Supplies needed are: Packing tape (any size, depends on your image size), image that you want to transfer, scissor, bowl of water, paper towel and mod podge (optional).

Step 1: Choose you image required to transfer.

Step 2: Carefully cover the printed image with a piece of packing tape. Avoid wrinkles or bubbles under the tape.
 
Step 3: Make sure it covers the whole image.

Step 4: I used spoon to burnish the surface of the tape to ensure the ink and the adhesive are completely in-contact. You also can use bone folder to do this.

Step 5: Cut the image with scissor (or just simply tear away the edge of the tape) then submerge it into a bowl of water for a few minutes until the paper is thoroughly saturated.

Step 6: Now you can start to rub the paper until it is completely peeled off the tape. Then what left will be the tape and the image.

Step 7: When the tape is completely clean from the paper residues, let it dry on the paper towel.

Step 8: The tape will still be slightly sticky, so you can layer your image over you work (canvas, cards, patterned paper, glass, etc) or if it doesn't stick, you can use glue. Mod-podge or gel medium would be better as they become transparent when dry.

Step 9: Now it is done!


Enjoy!
Ta-ta!


September 10, 2012

This Little Book

Salam and Hello!
Before I post out my last weekend activity, here is some hints.

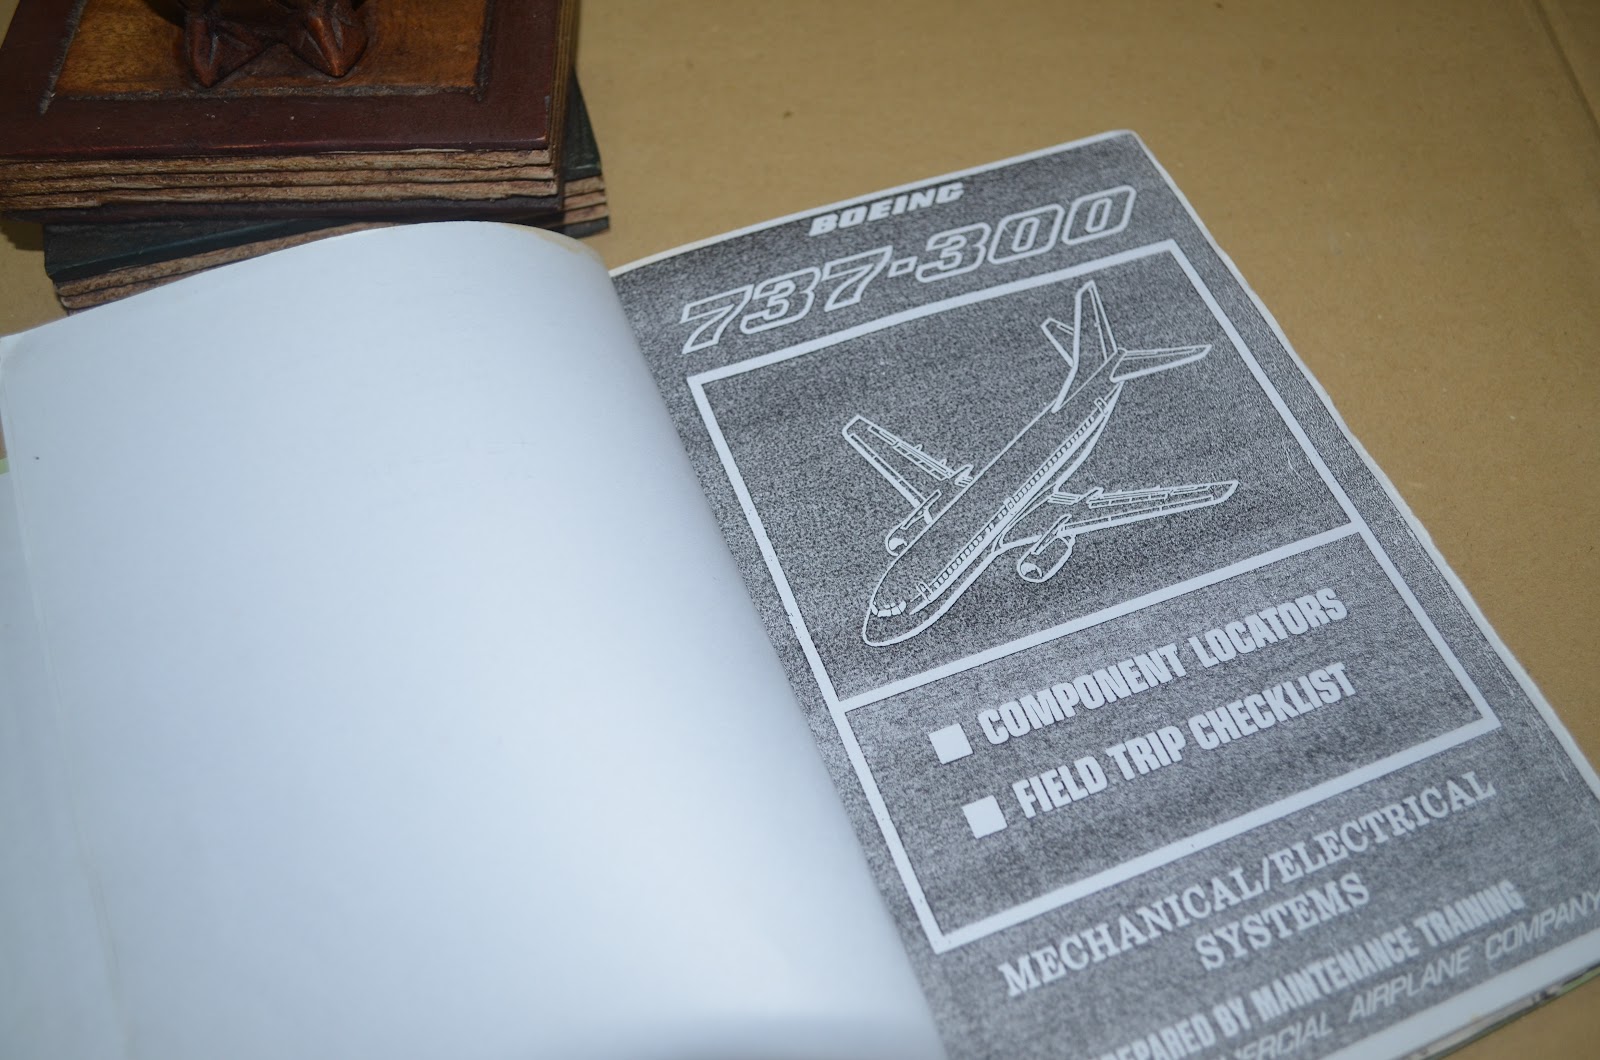
During my study year in aviation, I (with friends) had made copies of books and documents related to aircraft engineering and maintenance for our future references. All copies had been sent to the binding shop except for one. This 737-300 systems manual was hand-bound by me myself. I used some recycled brown corrugated box and scrapped wrapping paper for the cover. It cost me nothing. :)

But I just used adhesive to bind it.
Simple!


And this little handmade notebook (I made 3-- but only this one left!), was used for note-taking, sketching and doodling during working at the aircraft. Handy and cute!


And as always, I like to put my 'signature' on my own handmade stuff. [berangan!]


This box, made of the hardcover from some old book, I joined and glued them, then covered the box with the water-based adhesive craft paper tape. I used stencil technique for the maple leaves, then finally sprayed with the gloss paint.


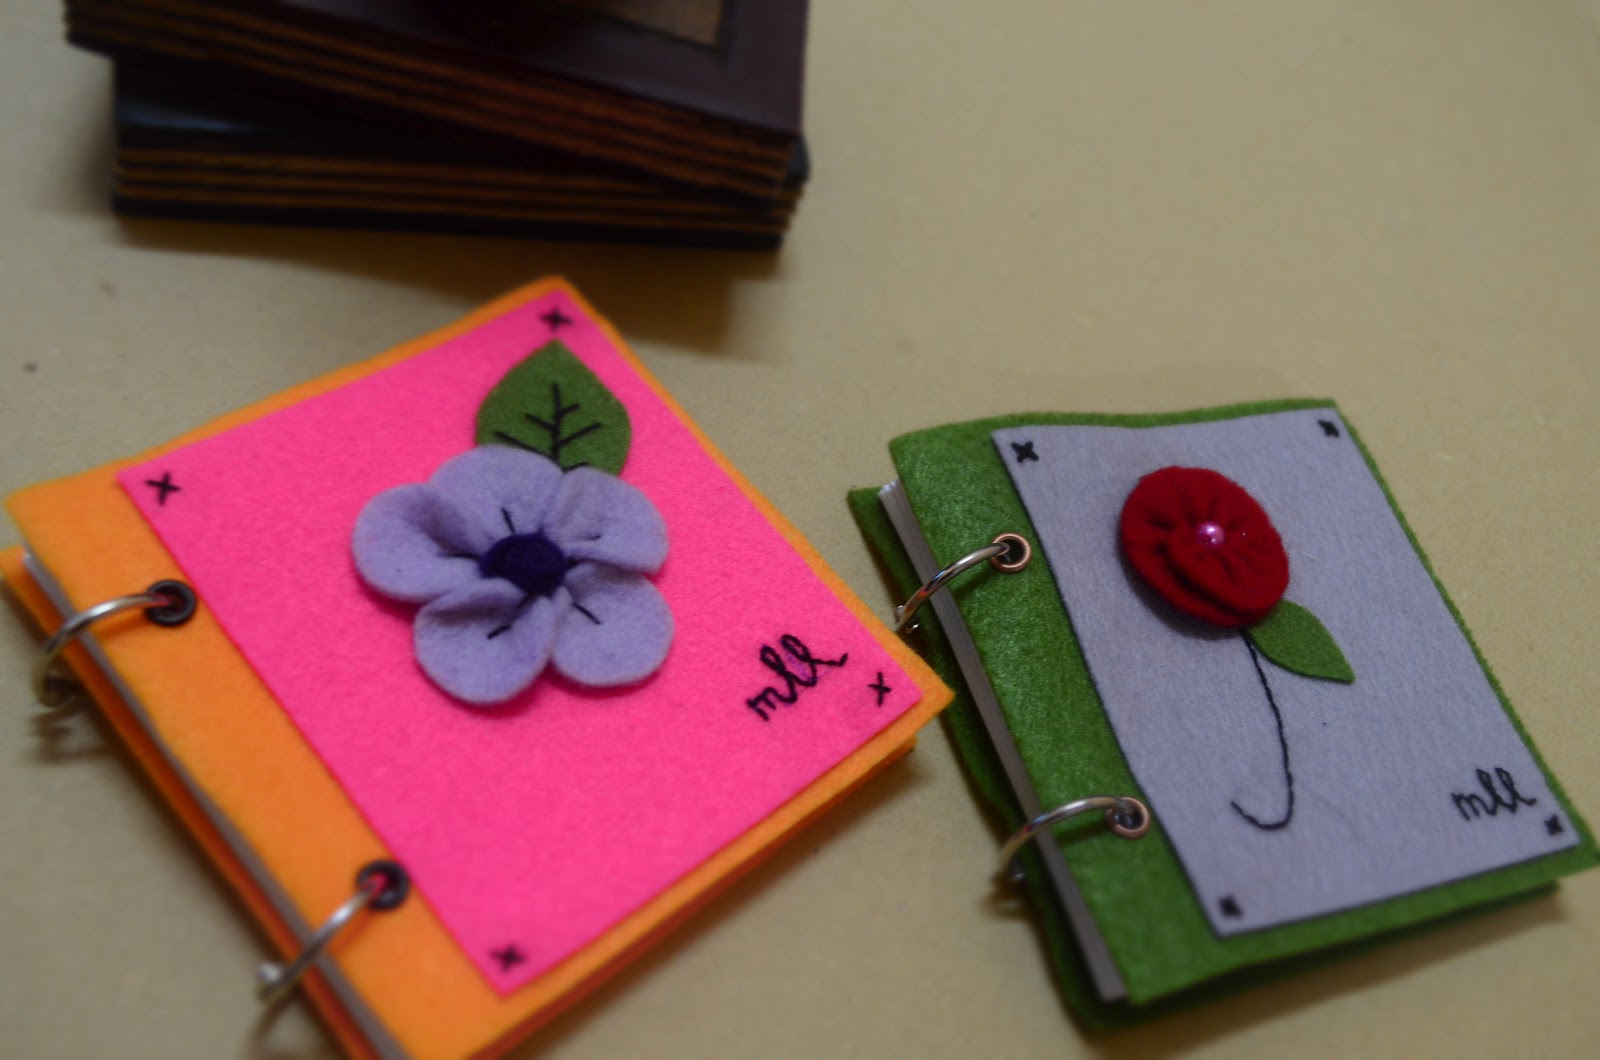
These are the latest books that I've made.
{{Actually I made these notebook, for sale at MIAT's Registration Day past 2 months, but I could make only two. Ha-ha!}}
The covers are made of felt, and are ring-bound.


Cute, ain't it?
That's a little bit on bookbinding. Next entry will something about what I've been doing last weekend. Wait for it, ya.

By the way, please alert. I giving something away! So, stay tune!


Till then.
Ta-ta!


July 19, 2012

Mod Podge: Photo Transfer

Salam and hello.
Just a quick post. This project has been done last night, I mean midnight. I've been doing some simple research on this photo transferring project for about 3 weeks, and VOILA! I've done it!

HAPPY! And congratulations to me and Imran was the one that really happy with the result. He helped me making this, y'know. Thanks Dear!

I'm thinking of some other things that can be made with this technique.

And this in my new love in crafting!


Till then!